
From: clayne@anodized.com
As some people who have gone non-seq know, once you start in on the project it tends to quickly change from a simple vacuum line plugging job to an all-out assault on the engine bay.
Once of the changes I made was finding a way to relocate the coils to the corner firewall location (Mazda used this location in the FC series, but most likely stopped due to needing a place for cruise control). The advantages revolving around moving the coils away from the primary source of heat and ease of maintenance - with a minimal impact on weight effects. It required a good amount of time test-fitting and taking measurements in order to figure out the best way to have everything mounted in a stable fashion and still allow room for the ancillary ignition equipment like the igniter and, in my case, HKS twin-power - without hitting the hood.
The parts I used were:
Every single one of these parts is available at Home Depot. I am not going to provide templates because the templates are already there if you're resourceful enough (hint: use the coils to mark a hole pattern, then duplicate that pattern three times). In addition I cannot really provide measurements because simply changing the alunimum stock and/or design will change all of the measurements used. I might go back and grab general length and width however.
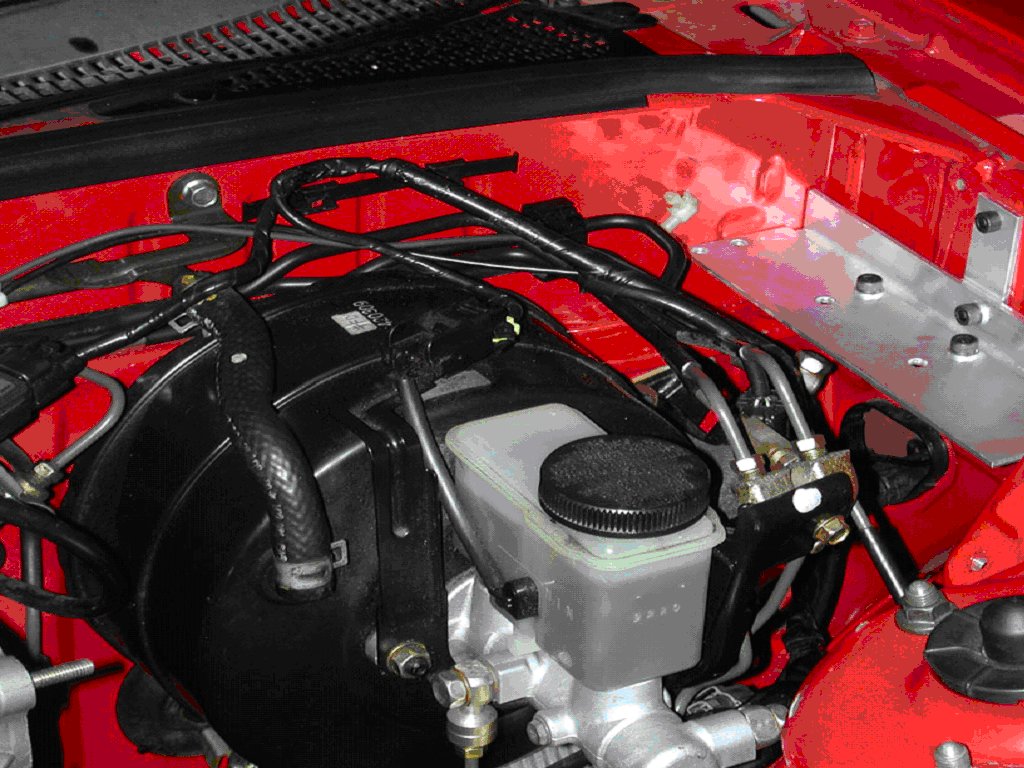
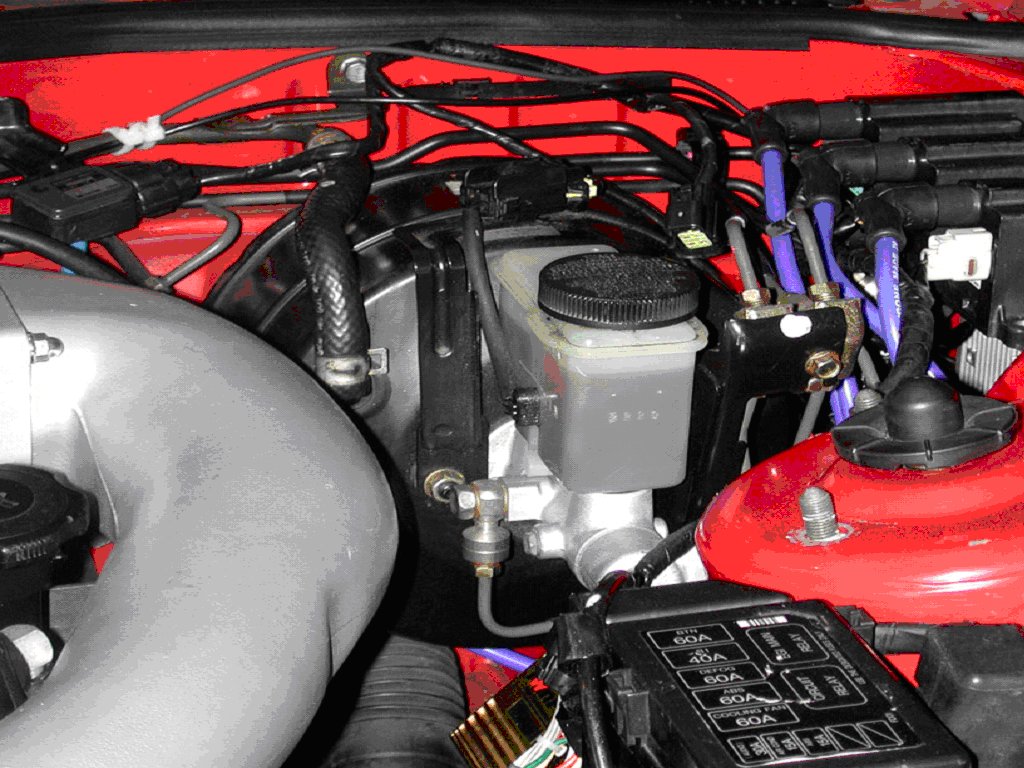
I started by trying to just fit the coils in the space by hand, placing
them near the bottom of the brake booster.
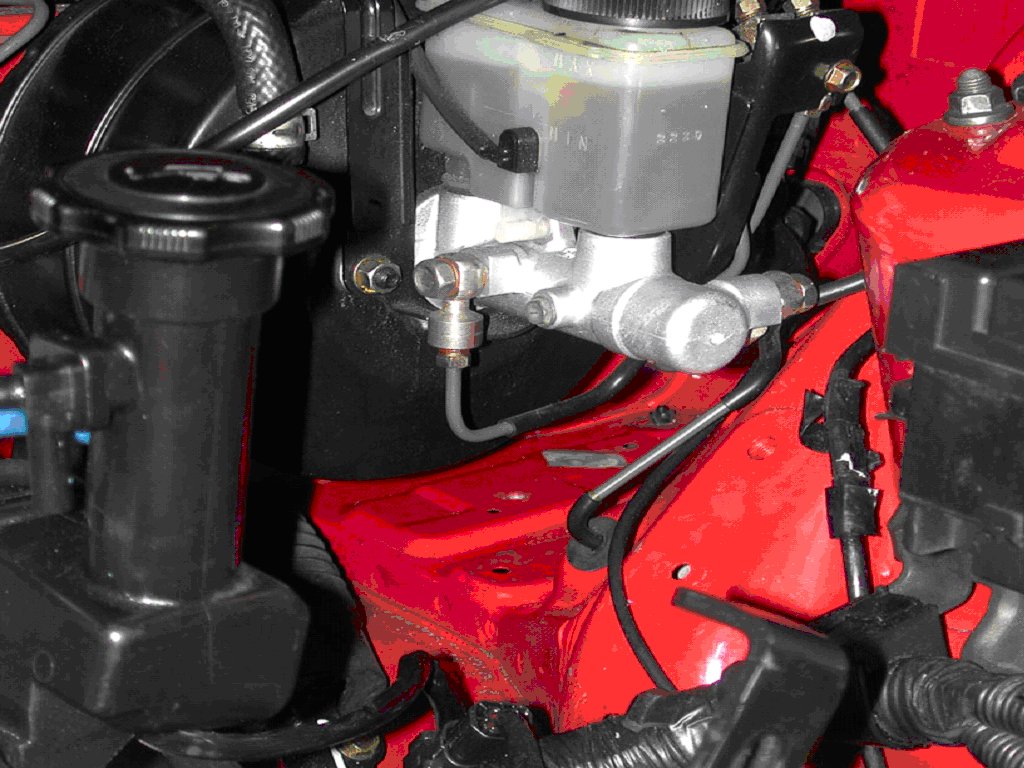
I ended up figuring out that it was pretty much impossible to mount them on the firewall "shelf" as the coils are not low-profile enough to fit under the brake booster. When moved towards the fender side they would hit the clutch cylinder. Basically that route wasn't going to happen cleanly.
An interesting side-note is that Mazda applies some of their unused bolt hole
covering tape before painting the chassis. Seemed kind of lame to me to do it
that way.
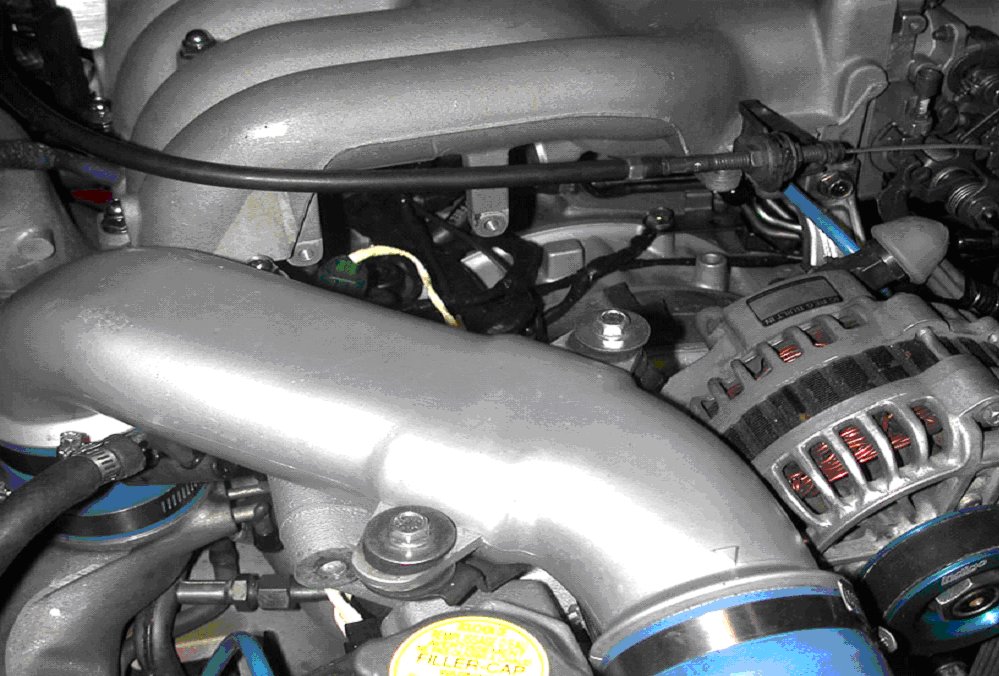
Using the test-fitting and measurements I had taken with a good amount of
guessing and refining afterwards I went from this:
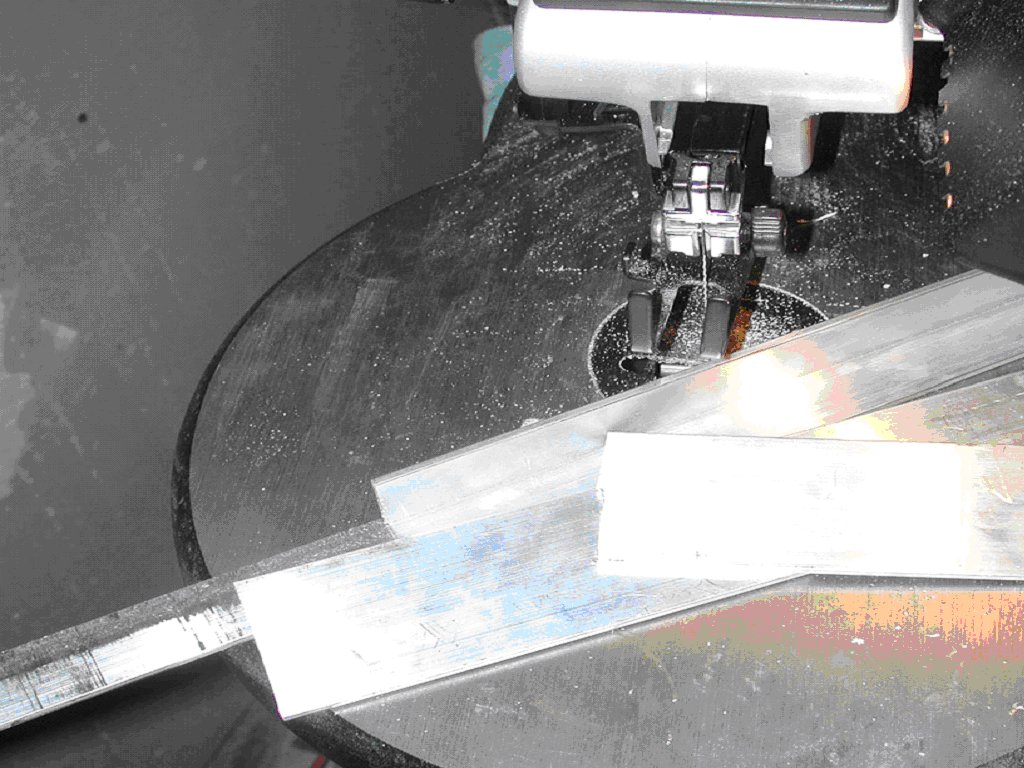
to this:
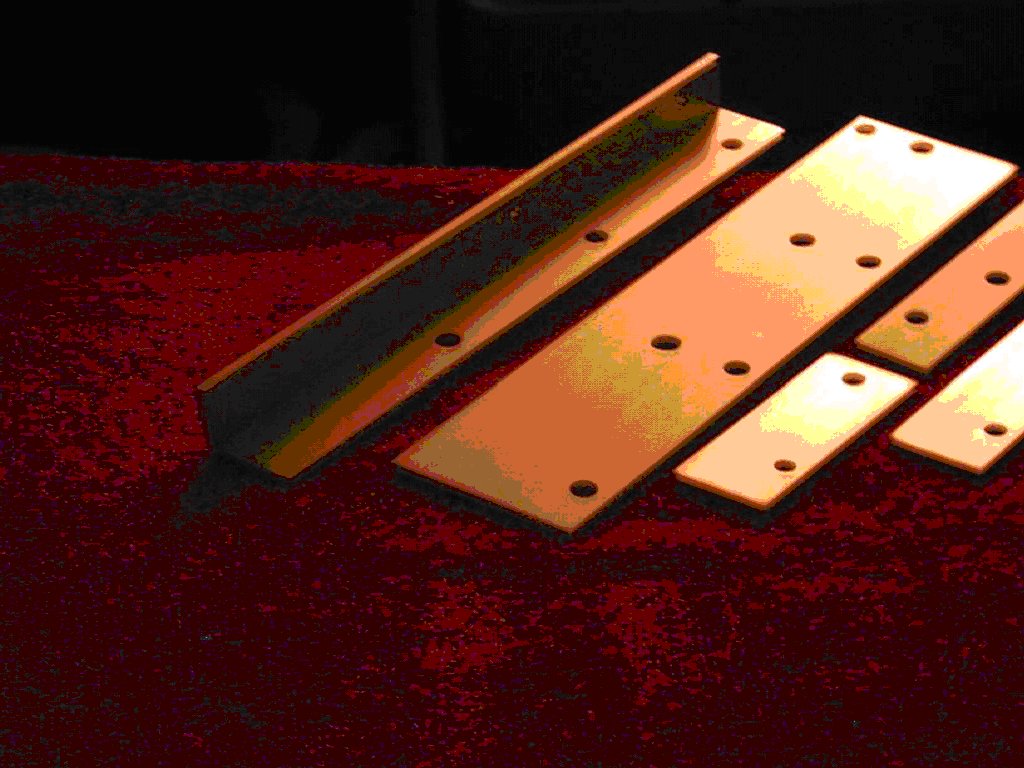
This is essentially what I used for the bracket itself. Not every hole is used (the one in the very corner of the main plate will be used for an additional support to the firewall if I find it to be needed).
After more test-fitting, I ended up with a bracket that worked pretty
damn well, if I say so myself. It's solid and mounts flat up against the side
of the engine bay (I shaved down the bolts I used on the hanging bracket
pieces flush to the bracket to prevent them from sticking out and hitting
the wall). It also allows any coil pattern you want (I switched back to
T/L/T when I mounted it to offer more room for the plug wire boots).
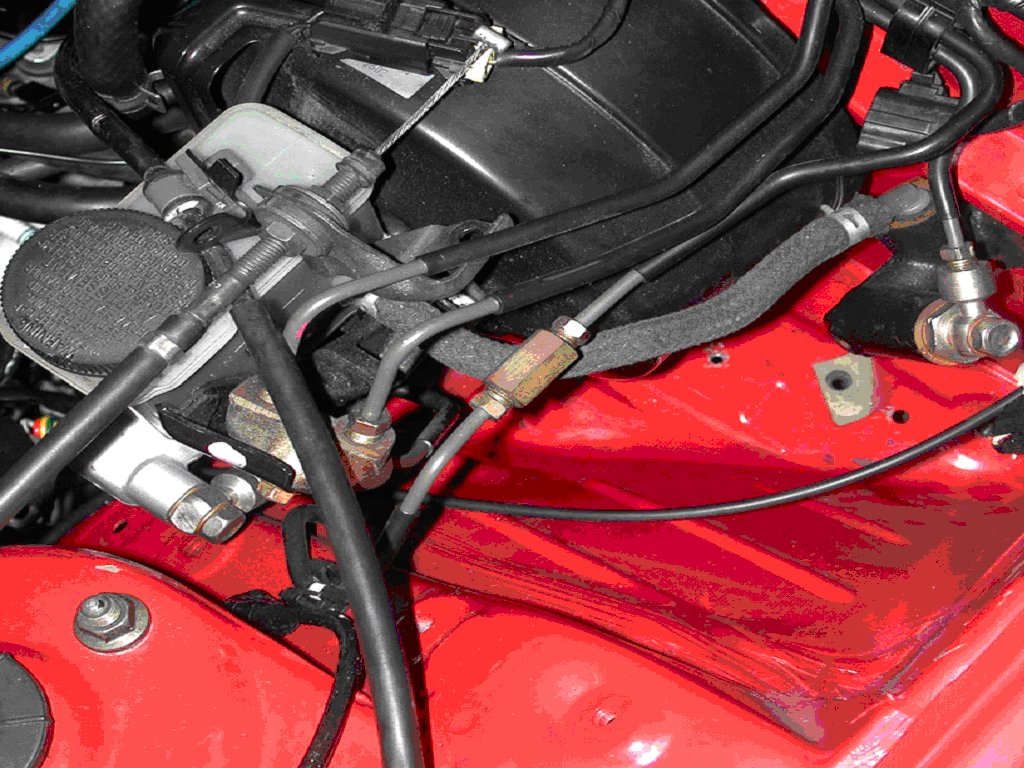
This is what the bracket looks like in the car, without the coils present:
If you look closely you can see the little shelf Mazda has placed under the brake lines. This is what I will use with the extra corner hole I drilled (add a dowel pin or something) if I need another securing point (I'm really not a fan of anything "hanging").
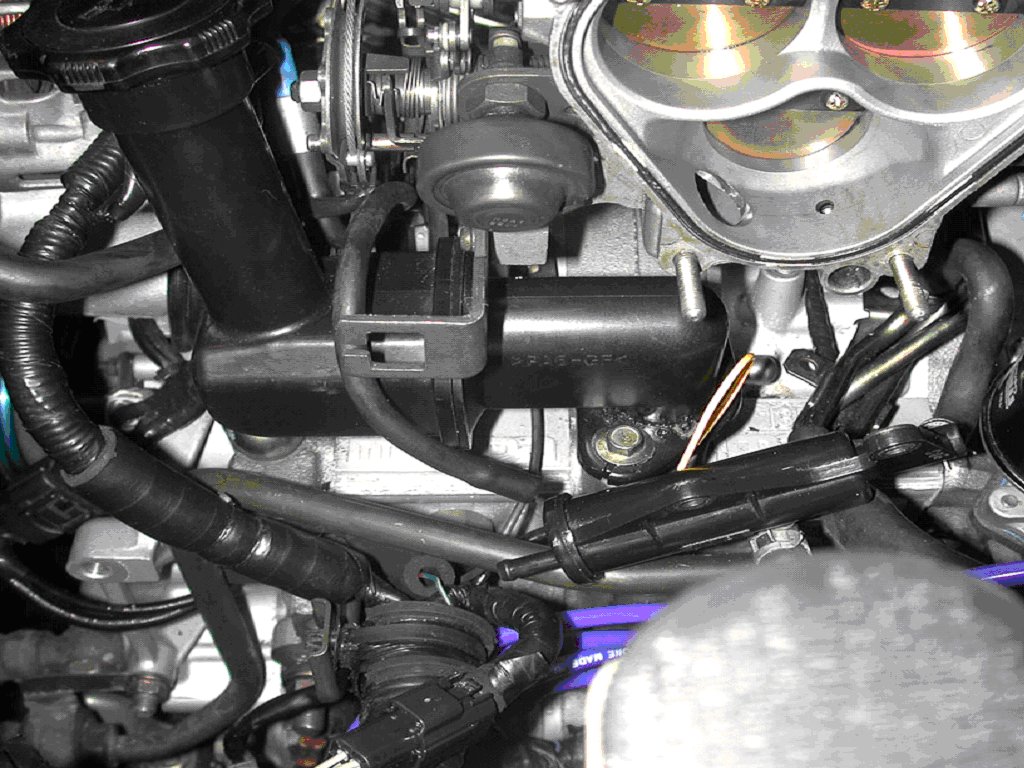
So after getting this all squared away in there, I tried finding a way
to stuff the igniter and fuel-pump resistor underneath. The FP resistor
had many options, but the igniter had funky fitting issues with curved
walls and it's large heat-sink. I ended up modifying the original bracket
by adding a little sub-bracket just to hang the igniter off of:
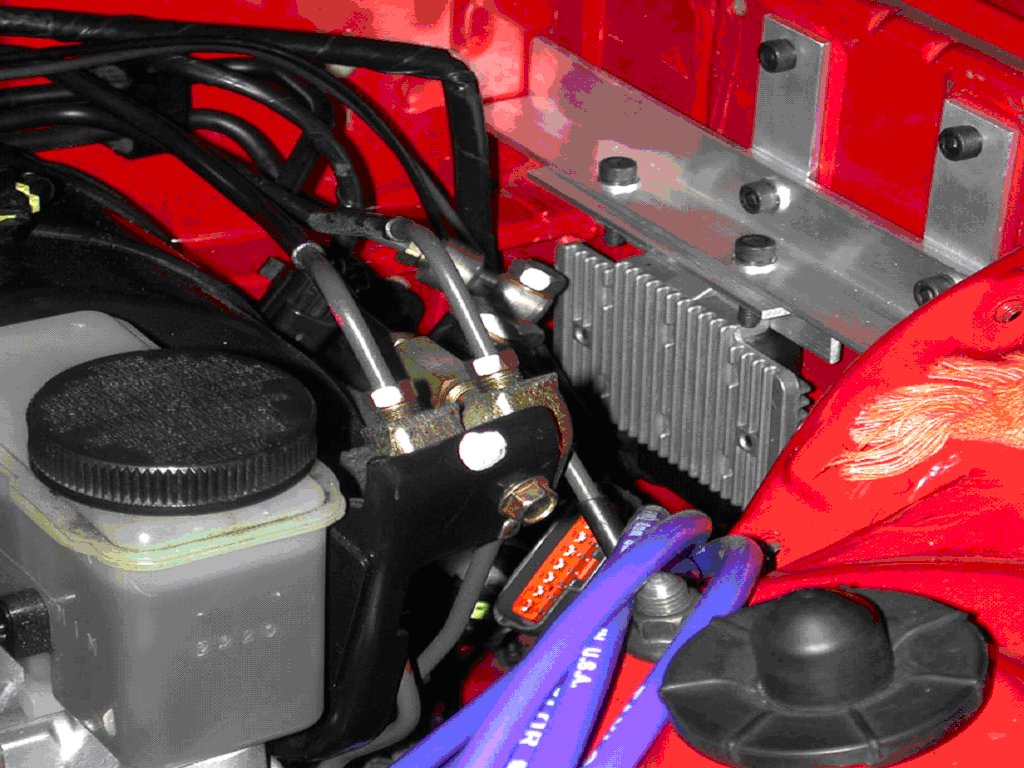
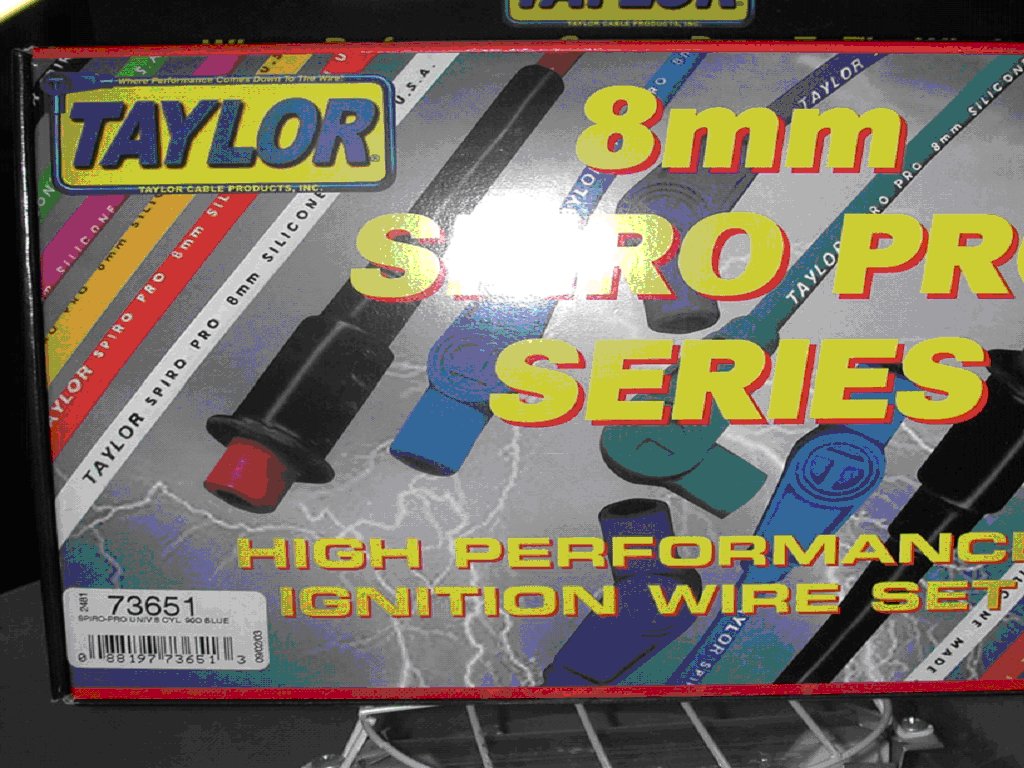
You'll notice the new plug wires in there as well. I picked these up for
80$ at local domestic car shop. Considering that for 80$ you get EIGHT
good quality plug-wires, it's a bargain. The plug end is already crimped
by Taylor, you just need cut to length, if desired, and crimp the coil
end onto the wire (totally easy). These wires are solid and used by a
lot of the knowledgable guys on here (Chuck Westbrook, for example). Do
not bother with the 10 mm versions, they are the same as the 8 mm wires
and just have 2 mm more of silicone wrapping (it's already thick enough,
trust me) at an increased cost.
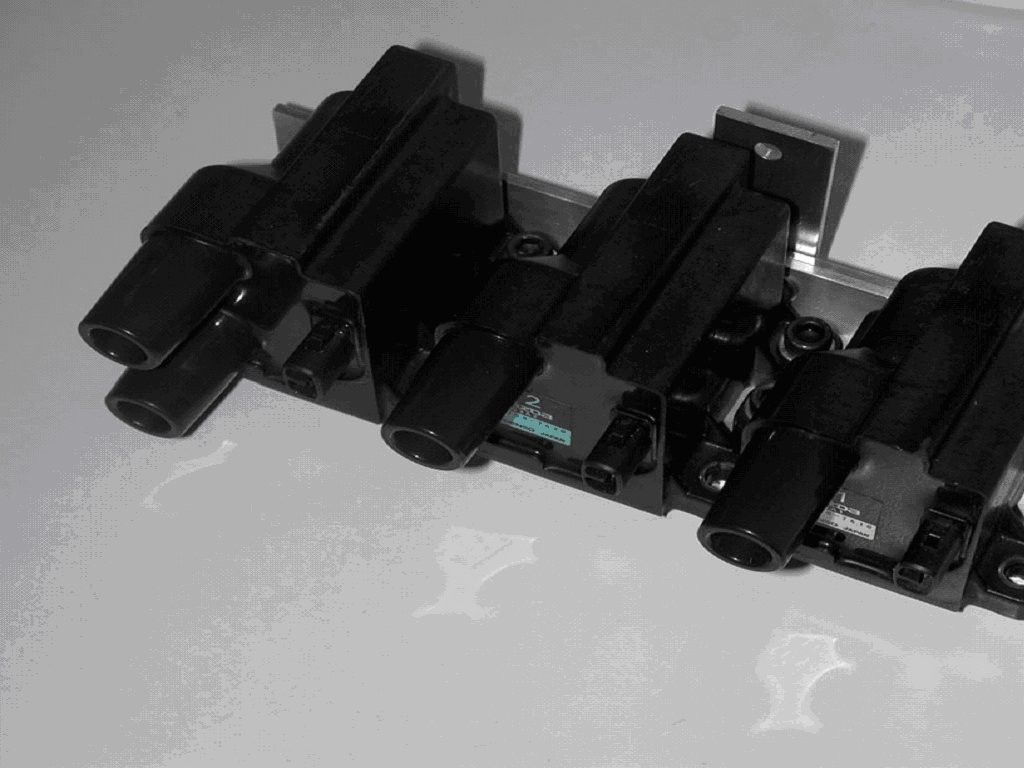
I flipped around the Mazda coil sub-harness and mounted the coils
in a T2 / L / T1 pattern (if viewing from passenger side, same order as
rotor housings). Also affixed the ground plug to the bottom of my bracket.
The OEM coil sub-harness uses the following plug colors:
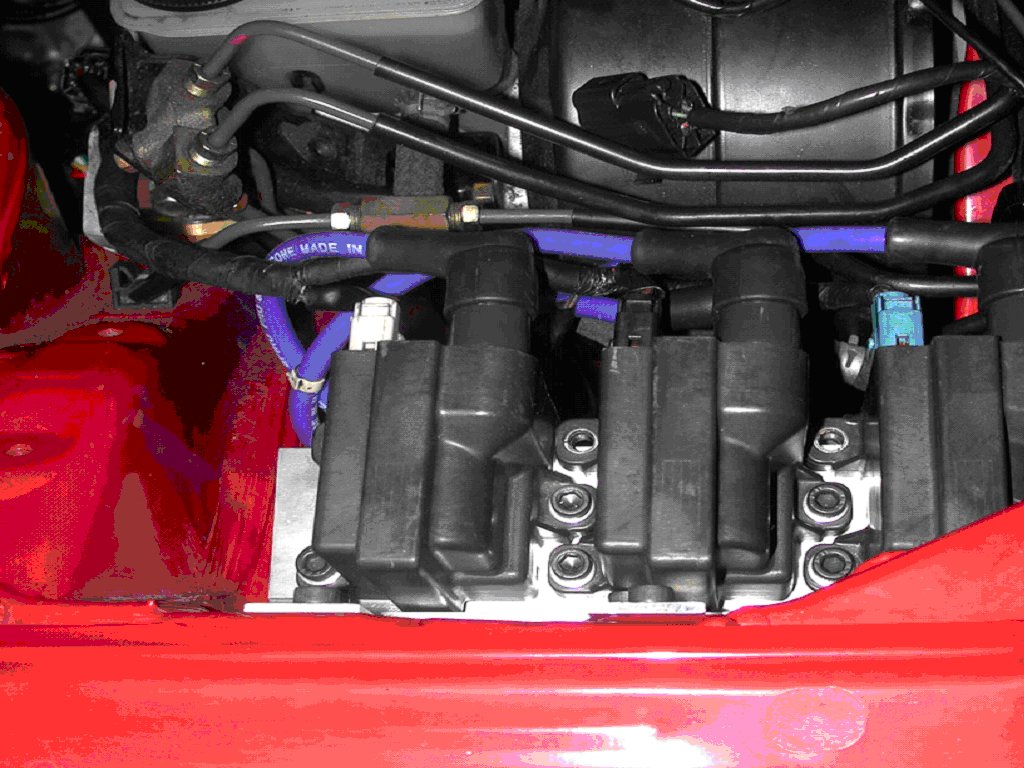
You may notice the 3rd holes in the coils not being used. This is because I did not have wide enough 1/8" thick aluminum to work with from the start - but I don't feel it to be really necessary anyways.
That's about it. I've still got to re-secure the MAP/fluid level/boost/water-temp wires I have just sitting there. HKS twin-power was mounted using one of the 10 mm holes mounted on the curved portion of the shelf (you can see it in one of the above pictures). I just enlarged the HKS mounting hole with a drill bit and used a Mazda bolt I had laying around.
Additional pictures:

![[ Mail me ]](mail.gif)
![[ To Lightning home page ]](rx7_home.gif)
![[ To my home page ]](my_home.gif)
![[ Copyright Notice ]](copyright.gif)