
Shock Boot Replacement
Last updated: February 12, 2002
Authored by Jeff Ho 2/2002
[3] Alternative Shock boot replacement
Most of the 3rdgens that I seen have torn, ripped or missing shock boots covers. I think this is due to a bad design of the material or length of the covers. After finding out the local dealer wanted about $60 each for the covers, I was pissed off and decided to make my own. The reason they are so expensive is because they come with the shock mount. I do not know of any local parts store that carries stock replacements (Kragen, Pep Boys etc..) The alternative I came up with costs about $30 for all 4 shocks. These alternative boots are designed for dirt bikes. They should last quite a bit longer since the dirt bikes are subjected to a harsher environment.
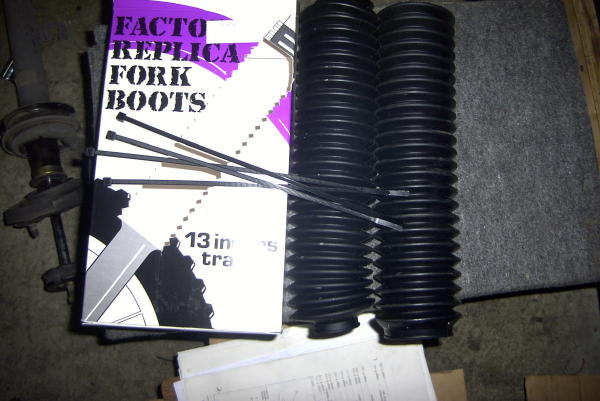
- Go to www.denniskirk.com and do a search for Daystar Fork Boots. You want the fork boot 69 series. (This should be an easy # to remember =) The part number is 58-634 for black. You have a choice in colors too! (Black, lt. blue, red, yellow, purple, pink, flour. orange, flour green and royal blue. If you pick a fluorescent color, you have bad taste IMHO =).
- The total cost should be $24.99 plus $6.00 for ground shipping/handling to anywhere in the U.S.
- This is what you should receive.
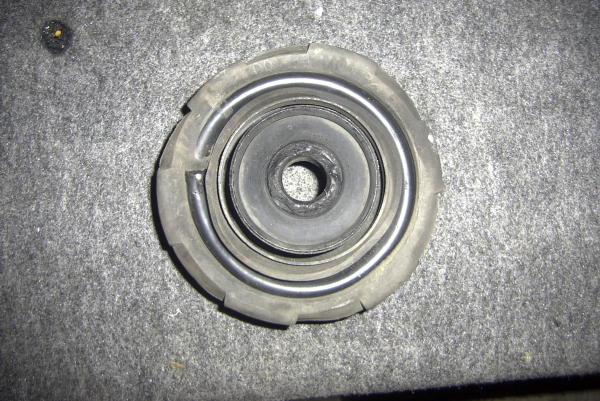
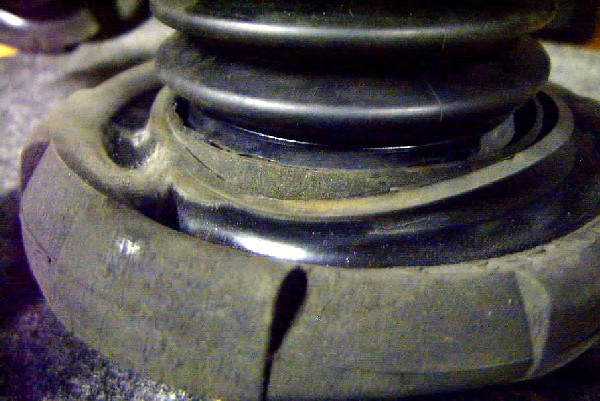
- This is a typical torn off boot
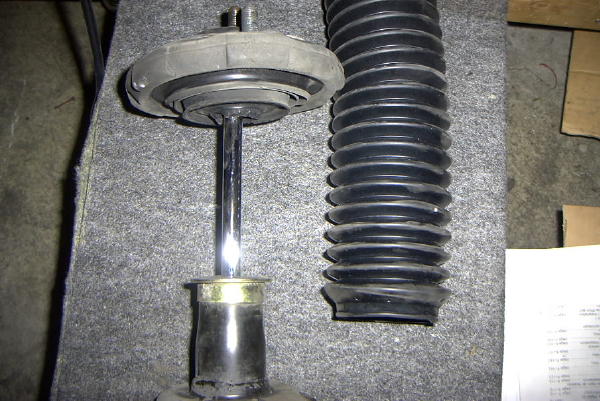
- Lay the boot next to the fully extended shock. One end of the boot has a smaller opening then the other one. Make sure that the larger end is pointed to the bottom of the shock. You want the larger end to go into the over the shock body as seen in this picture.
- The boot is like an accordion, to allow it to compress and stretch. Count from the bottom, up 11 ribs. That’s where you want to cut it. Cut it at the larger diameter area. This is critical.
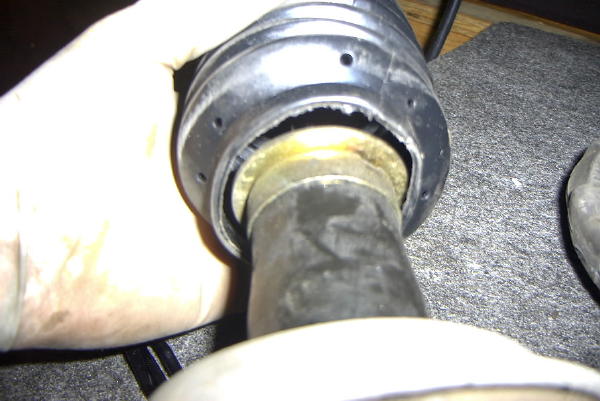
- Now with the cut end stretch it over the metal circular shape in the upper shock mount.

- Note in the previous picture, the boot was cut at the larger diameter area of the boot. This gives the zip tie more material to hold it to the top of the shock mount. Also it gives the boot a snug fit over the circular metal part on the shock mount.
- With the zip tie they supplied in the package, tie the top part of the boot around the metal part.
- Assemble the rest of the shock as normal and your done!
- Do the same for the other shock(s).
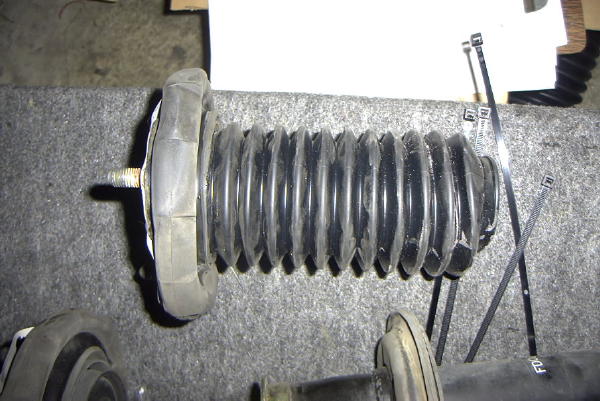
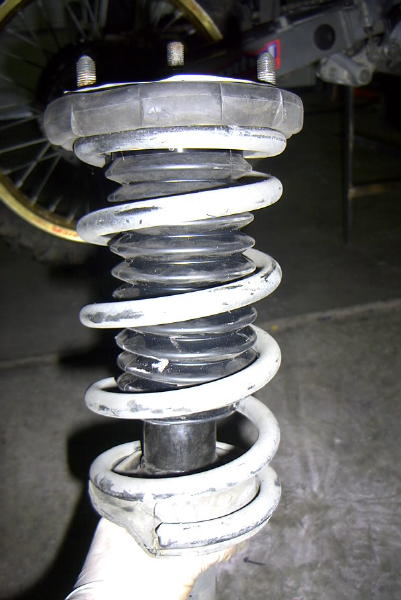
- This is how it looks assembled in the car.
I have not done the rears yet because mine are not torn yet. There should be more then enough material to do the rears. The same method will work. Remember, this is all at your own risk. If anything bad happens it’s not my fault. I just did this tonight and I don’tknow how it will work or last.

![[ Mail me ]](mail.gif)
![[ To Lightning home page ]](rx7_home.gif)
![[ To my home page ]](my_home.gif)
![[ Copyright Notice ]](copyright.gif)